Kintaikyo Bridge’s five wooden arches and Miyajima’s famous shrine make an unusually satisfying pair for one day: first a celebrated work of engineering, then a sacred island setting shaped by sea and mountain. This tour connects both with a guide, public transport and admission to the attractions included.
I like the contrast between Iwakuni’s castle-town sights and Miyajima’s religious sites, and the ferry ride gives the journey between them a memorable change of pace. There is also time to choose your own lunch in Miyajima’s Omotesando shopping arcade rather than being tied to a set meal.
The trade-off is a full schedule. You have several stops to cover, and the timetable leaves little room to linger, especially around Miyajima’s shrine and pavilion. If you prefer slow visits or want to browse the island at your own pace, consider spending a night nearby instead.
- What to know before you go
- From Hiroshima Station to Iwakuni
- Kikko Park and Iwakuni Castle
- The ferry crossing to Miyajima
- Lunch and free time in Omotesando
- Senjokaku Pavilion and Itsukushima Shrine
- Daisho-in and the return to Hiroshima
- What the price includes, and what it doesn’t
- Who will appreciate this day most
- Should you book it?
- FAQ
- Where does the tour start and end?
- Is transportation included?
- Are attraction admissions included?
- Is lunch included?
- Is the tour suitable for children?
- Can I bring luggage or arrange hotel pickup?
- More 1-Day Tours in Hatsukaichi
- More Tours in Hatsukaichi
- More Tour Reviews in Hatsukaichi
What to know before you go
 1 / 10
 2 / 10
 3 / 10
 4 / 10
 5 / 10
 6 / 10
 7 / 10
 8 / 10
 9 / 10
 10 / 10
- Two famous Japanese sights in one day: See Kintaikyo Bridge in Iwakuni and Itsukushima Shrine on Miyajima.
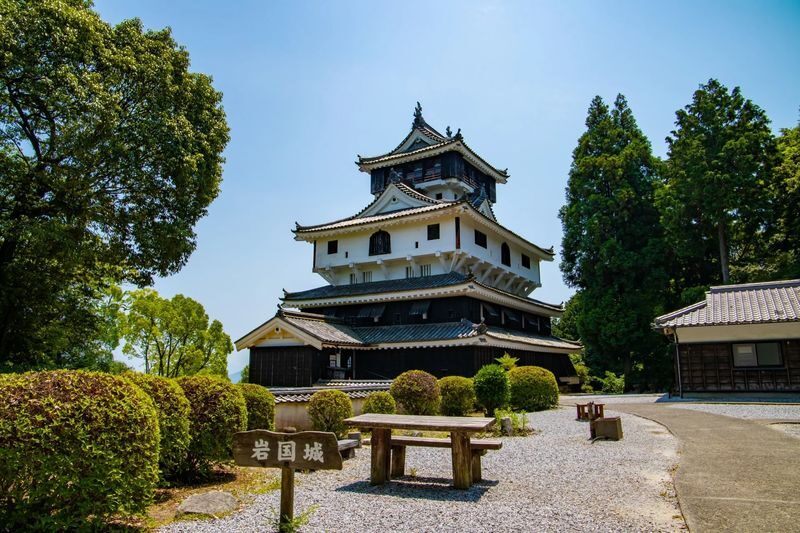
- Castle visit by ropeway: Ride up to Iwakuni Castle on Mount Shiroyama, then explore the castle and surrounding area with your guide.
- A World Heritage Sea Route ferry: The crossing to Miyajima is part of the experience, not just a transfer between stops.
- Three Miyajima landmarks: Visit Senjokaku Pavilion, Itsukushima Shrine and Daisho-in Temple.
- Lunch is your choice: The tour allows free time in Omotesando Shopping Arcade, but food and drinks are not included.
- A tightly timed day: The tour begins at Hiroshima Station at 8:00 AM and is scheduled to return there at 5:30 PM.
From Hiroshima Station to Iwakuni
Meet your guide at 8:00 AM at Hiroshima Station, by the Shinkansen Gates under the Tourist Information sign. The tour uses public transportation, so expect to move between stops as part of a shared day out rather than sit in a private vehicle.
The early start buys you time for two separate destinations. It also means you should arrive with breakfast handled and the day’s essentials packed. Luggage storage and delivery are not provided, so this is not a good day to bring large bags.
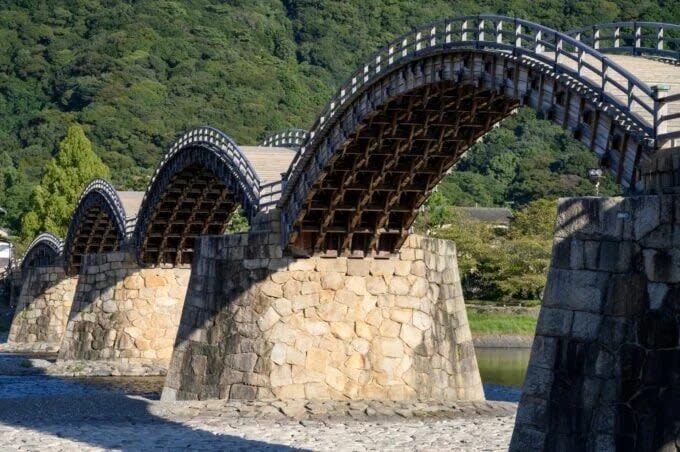
The first major stop is Kintaikyo Bridge, reached at about 9:30 AM. The bridge is famous for its five wooden arches and is often counted among Japan’s best-known bridges. Its shape makes the visit more than a quick photo stop: the tour is guided, giving you a chance to hear about the bridge and its place in Iwakuni’s history.
This is a strong opening because the bridge is visually distinct from the religious sites later in the day. You get an immediate sense of Iwakuni as a place with its own character, rather than treating it as a simple route to Miyajima.
You can also read our reviews of more tours and experiences in Hatsukaichi
Kikko Park and Iwakuni Castle
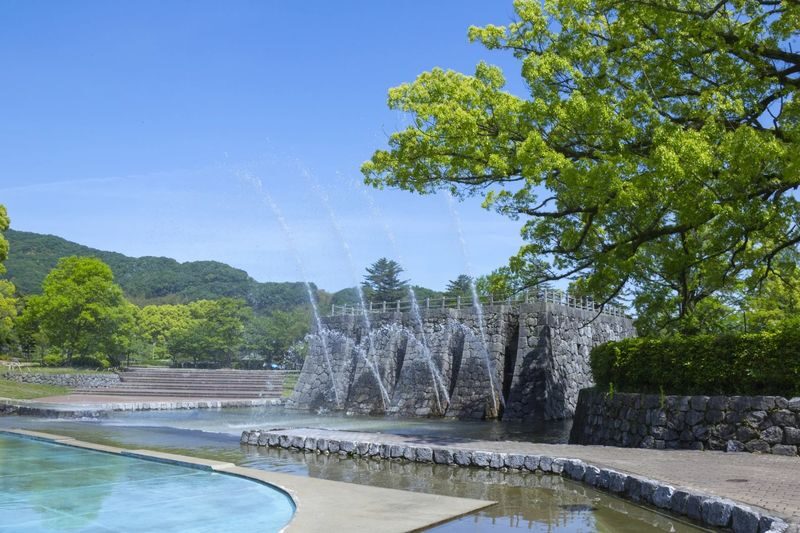
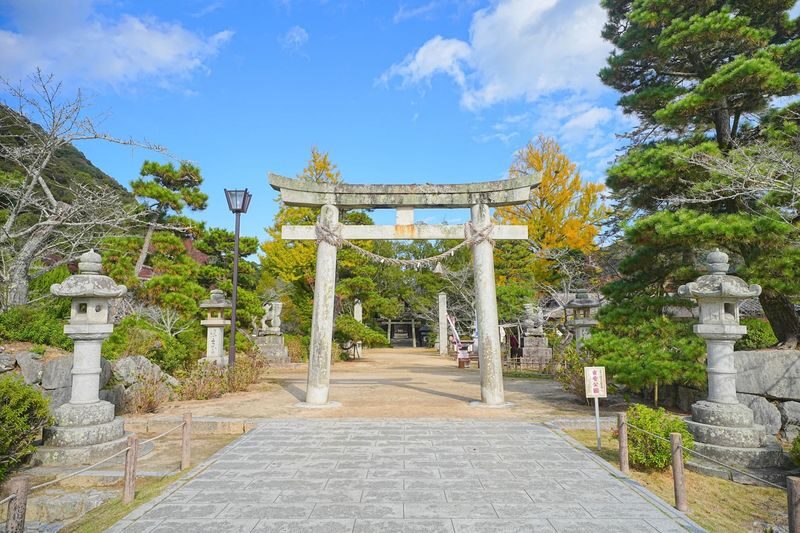
At about 9:45 AM, the group moves to Kikko Park and Kikko Shrine for a short guided walk. The park is described as spacious, but the visit is brief. Think of it as an introduction to the area, not a long garden visit or an opportunity to explore every corner.
Kikko Shrine adds a religious stop before the day’s larger visits to Miyajima’s Shinto shrine and Buddhist temple. Having a guide helps connect these places to their traditions, though the schedule does not allow for an extended lesson at each one.
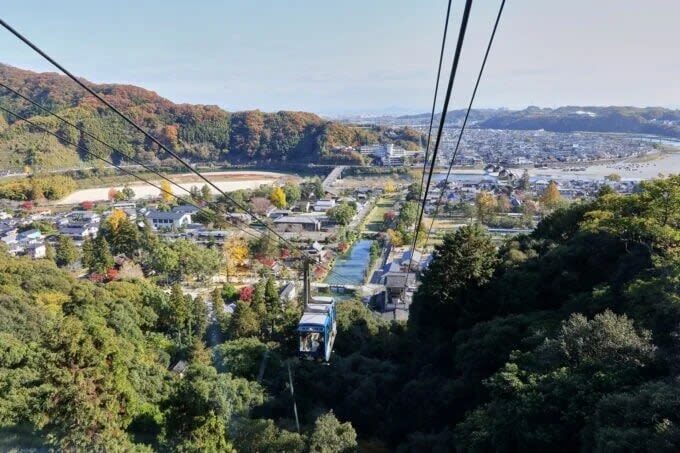
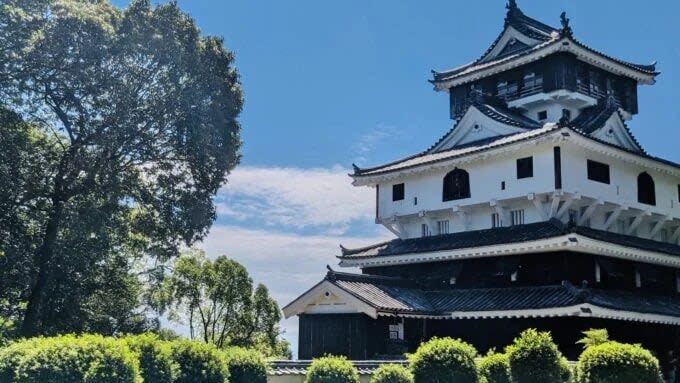
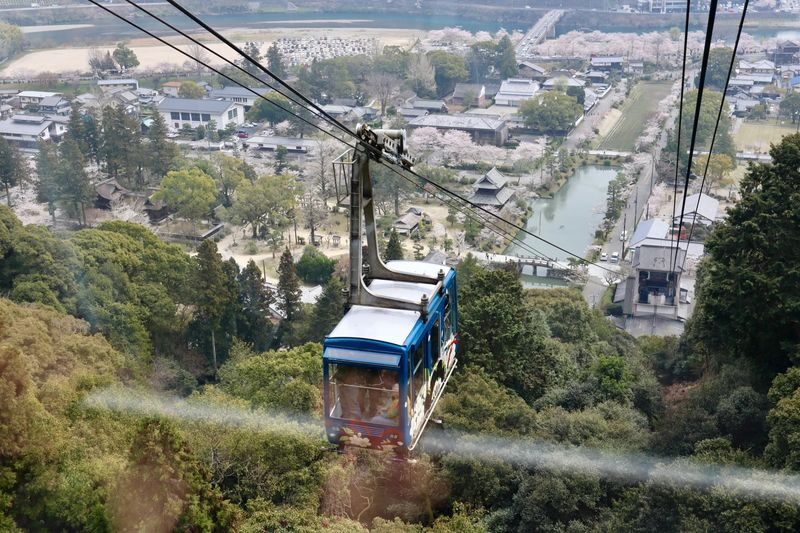
Around 10:15 AM, you travel by ropeway to Iwakuni Castle at the top of Mount Shiroyama. The castle and surrounding area receive a guided tour. The elevated setting gives this stop a different feel from the riverside bridge and park, and the ropeway makes the ascent part of the visit.
Iwakuni’s past as a castle town is closely tied to its cultural life and local arts and industry. The castle stop helps put the bridge in a wider setting: the day is not just a collection of famous structures, but a look at a town shaped by its history.
Time is the limitation here. The schedule moves on after the castle visit, so you will not have an open-ended stretch to explore the mountain or town independently. If Iwakuni is your main interest, a separate visit would give you more room.
The ferry crossing to Miyajima
After Iwakuni, the tour heads to Miyajima and takes the ferry along the World Heritage Sea Route. This is one of the day’s most appealing transitions. You leave a castle-town setting for an island known for its natural scenery and sacred sites, with the sea forming a clear break between the two halves of the tour.
The ferry is included as part of the transport. The exact timing can shift with traffic and weather, so treat the schedule as a plan rather than a guarantee. The tour’s compact structure is useful if you want to see both regions in a day, but it leaves less flexibility if one connection runs late.
Lunch and free time in Omotesando
At about 1:15 PM, you get time in Miyajima’s Omotesando Shopping Arcade for lunch and a little free time. Meals and drinks are not included, so budget for your own food. This arrangement gives you a choice of where and what to eat, but the available time is shared with the rest of the island visit.
I would keep lunch simple and pay attention to the meeting time. You will want enough time to eat without using up the chance to see the arcade or arrive at the next guided stop. The schedule does not specify a particular restaurant or menu, so you can make your choice on the day.
The free period is a useful pause after a busy morning, but it is not a long independent visit to Miyajima. If shopping, eating at a relaxed pace or exploring beyond the scheduled sites matters most to you, the tour’s pace may feel brisk.
Senjokaku Pavilion and Itsukushima Shrine
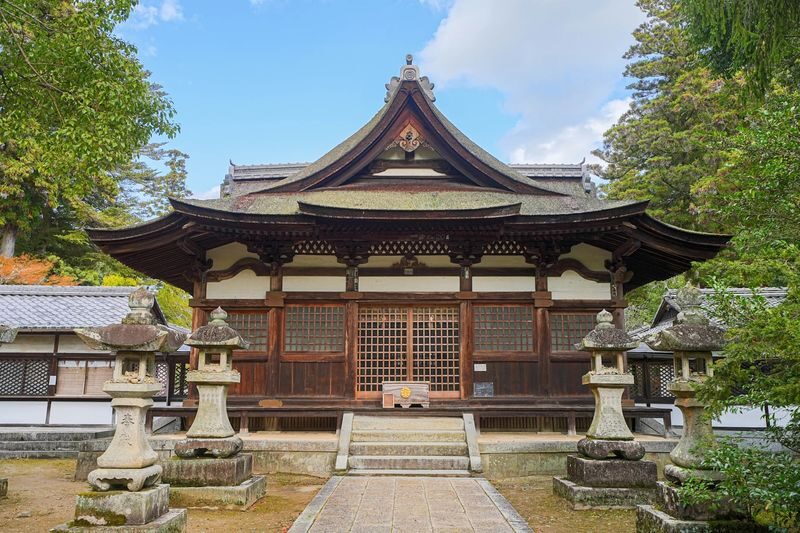
The afternoon’s guided sightseeing begins at Hokoku-jinja, also known as Senjokaku Pavilion, at about 2:45 PM. The pavilion offers a different perspective on Miyajima’s religious heritage before the group visits Itsukushima Shrine just five minutes later.
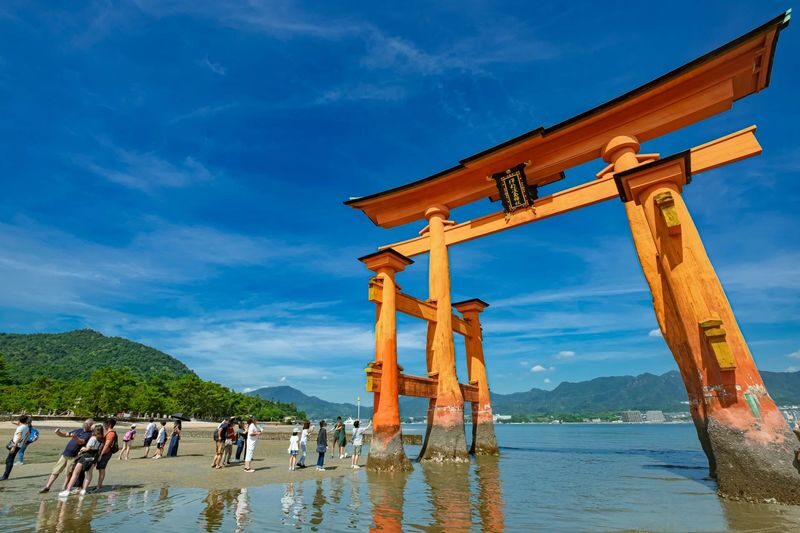
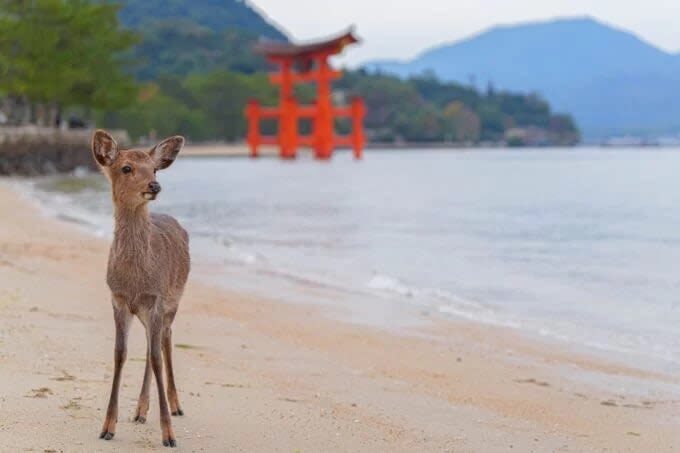
Itsukushima Shrine is the island’s best-known sight, famed for its setting by the water and the impression that it floats. The tour includes a guide-led visit focused on Shintoism, which adds useful context to the buildings and their role. You are not simply being dropped off to look around on your own.
The five-minute gap between the pavilion and shrine is a clue to the day’s pace. These are close stops, but the timetable is designed to keep the group moving. You should expect a focused visit rather than a long, unhurried stretch at either site.
Sea and weather conditions can affect how a waterfront shrine appears, so the scene may vary with the day. The tour still gives you the core experience of visiting the shrine and learning about its religious meaning, but it cannot promise a particular view or condition.

Daisho-in and the return to Hiroshima
At about 3:20 PM, the guide takes you around Daisho-in Temple. This Buddhist temple visit complements the Shinto focus at Itsukushima Shrine. Seeing both traditions during the same afternoon helps make the island’s religious life easier to understand, especially if you are new to Japanese Buddhism and Shintoism.
The tour is scheduled to return to Hiroshima Station at 5:30 PM. That makes the day practical for anyone staying in Hiroshima and hoping to fit two major destinations into one outing. Still, allow some flexibility in your evening plans: the schedule may change with traffic and weather.
One piece of feedback names guide Isabella and praises the amount of explanation and the careful timing. That is a useful indication of the kind of guided experience offered, but guide assignments can vary, and no particular guide is guaranteed.
What the price includes, and what it doesn’t
The advertised starting price is $167.99, while the Hiroshima departure package is listed from $187.99. Check the price for your selected date and package before booking, since the figures differ. The Hiroshima option is the relevant one if you plan to meet at Hiroshima Station.
The value comes from combining transport, attraction admissions and an English-speaking guide across two separate destinations. Organizing Iwakuni and Miyajima independently in one day would require you to manage the connections and visit timing yourself. Here, the guide and planned route do much of that work.
Meals and beverages, personal expenses, tips and accommodation are not included. Hotel pickup and drop-off are also excluded, so you need to reach Hiroshima Station for the 8:00 AM departure. Children aged 0 to 5 are free, but infants and children still need to be included in the passenger headcount. Children aged 13 and older pay the adult rate.
Who will appreciate this day most
I’d choose this tour if you have limited time in Hiroshima and want a guided overview of both Iwakuni and Miyajima. It suits people who value efficient transport and historical context, and who are comfortable following a set schedule.
It can also work well for families, since children under 6 travel free. Just keep in mind that the day includes several stops and public transport, and the timetable is busy. The tour does not offer hotel pickup, luggage storage or included meals, so you will need to plan those details yourself.
If you are drawn to slow temple visits, long shopping breaks or extensive time on Miyajima, a standalone island visit may suit you better. This tour’s strength is its range, not its flexibility.
Should you book it?
Book this tour if you want to see Kintaikyo Bridge, Iwakuni Castle and Miyajima’s main religious sites in one day without arranging each leg yourself. Its best feature is the clear contrast between Iwakuni’s bridge and castle and Miyajima’s shrine, pavilion and temple, with a ferry crossing linking the two.
Skip it if you want a leisurely day or need plenty of unscheduled time. For a focused first visit from Hiroshima, though, the mix of sights, guided explanations and included transport makes the higher Hiroshima package price reasonable, provided the schedule suits you.
1-Day Miyajima & Iwakuni Tour: Exploring Iconic Japanese Landscapes
“This was the most amazing day! Every step along the way we were seeing the most beautiful sights. There was also a good amount of explanation along…”
FAQ
Where does the tour start and end?
It starts and is scheduled to end at Hiroshima Station. Meet at 8:00 AM by the Shinkansen Gates under the Tourist Information sign, with the return planned for 5:30 PM.
Is transportation included?
Yes. Transport is included, and the tour uses public transportation. The route also includes a ferry ride to Miyajima along the World Heritage Sea Route.
Are attraction admissions included?
Yes. Admission to attractions is included in the tour price.
Is lunch included?
No. Meals and beverages are not included. You have free time in Miyajima’s Omotesando Shopping Arcade to choose and buy lunch.
Is the tour suitable for children?
Children aged 0 to 5 can join for free, and children aged 13 or older are charged the adult rate. Infants and children must still be included in the passenger headcount.
Can I bring luggage or arrange hotel pickup?
Hotel pickup and drop-off are not included, and luggage storage or delivery services are not provided. You need to make your own way to Hiroshima Station for the departure.