Akihabara is a fitting place to make a Game Boy your own: this two-hour workshop turns a famous piece of gaming history into a hands-on project and a souvenir you build yourself. You choose the original DMG-01 or a Game Boy Advance, then take home a working console with a new backlit screen.
I like two things in particular: the step-by-step help makes the task approachable even if you have never opened a console, and choosing the shell and buttons gives you a real say in the final look. One consideration is the price, from $329.35. It is a substantial spend for a two-hour activity, so it makes most sense if you value the build and the finished console, not just the time in the workshop.
- At a glance
- A hands-on souvenir in Akihabara
- Choosing between the original Game Boy and the Advance
- From opened shell to finished console
- A short history lesson, then time to play
- What the two-hour schedule means
- The price: a console plus a guided project
- A good fit for families, couples, and solo gamers
- Small practical details before you book
- Should you book the Game Boy workshop?
- FAQ
- How long is the Game Boy mod workshop?
- Which Game Boy models can I choose?
- What do I build during the workshop?
- Do I need to bring a console, tools, or parts?
- Is the workshop suitable for children?
- Can someone come along without joining the workshop?
- Where is the meeting point?
- What times are available?
- Can I cancel or change my booking?
- The Best Of Tokyo!
- More Workshops & Classes in Tokyo
- More Tours in Tokyo
- More Tour Reviews in Tokyo
At a glance
 1 / 10
 2 / 10
 3 / 10
 4 / 10
 5 / 10
 6 / 10
 7 / 10
 8 / 10
 9 / 10
 10 / 10
- Choose your handheld: Book the original Game Boy, known as the DMG-01, or the Game Boy Advance.
- Make it personal: Select a shell color, buttons, and a backlit IPS screen.
- Start from scratch, not from experience: The console, parts, and tools are provided, and English-speaking staff guide the work.
- Learn as you build: The session includes background on the Game Boy and time to try classic cartridges.
- Leave with a working souvenir: Your finished console is tested, and you can play it before you go.
- Plan for two hours in Akihabara: The meeting point is Le Nid Kanda #701, with sessions listed at 10:00, 14:00, and 18:00.
👉 See our pick of the Our Picks For The 11 Best Workshops & Classes In Tokyo
A hands-on souvenir in Akihabara
Many Tokyo souvenirs are easy to buy and just as easy to forget. Here, you take home something you have helped assemble: a customized handheld console with a modern backlit IPS screen. The process gives the object a story, whether you are a lifelong Nintendo fan or simply curious about how a classic portable game system fits together.
The workshop takes place in Akihabara, Tokyo’s well-known gaming district. The setting suits the subject, but the appeal is more than the neighborhood name. You get a focused activity built around a specific piece of gaming history, with time to hear about the hardware and handle the parts yourself.
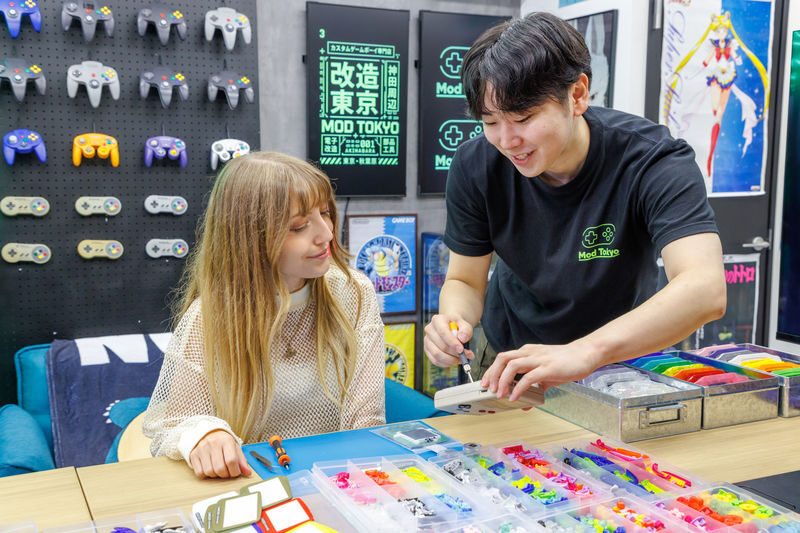
The staff speak English and guide you through the steps. You do not need to bring a console, parts, tools, or prior technical skills. Each unit is fully tested before the session, and the goal is for you to leave with a working machine rather than a pile of screws and a good story.
You can also read our reviews of more tours and experiences in Tokyo


Choosing between the original Game Boy and the Advance
Your first decision comes when booking: the original Game Boy, the DMG-01, or the Game Boy Advance. The original model dates to 1989 and has the familiar classic design. Choose it if you want the look and feel of the first-generation handheld.
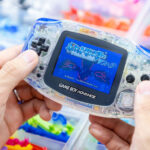
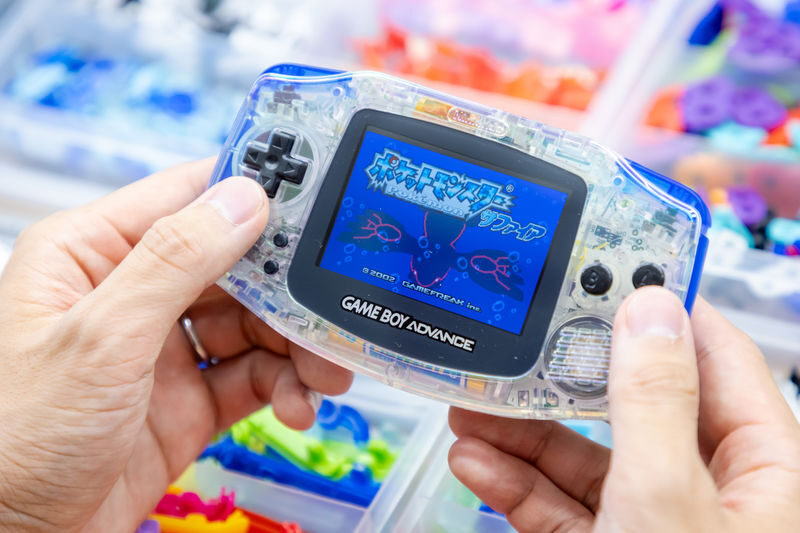
The Game Boy Advance is the other option, with a wider screen. Both workshops include a backlit IPS screen and the chance to customize the shell and buttons. The right choice depends on what you want to take home: the unmistakable early Game Boy shape, or the Advance model’s broader display.
Check the package name carefully before you book. The two versions are separate options, and the listed starting price may not tell you the price for every package. Confirm the price and details for the model you want at checkout.
From opened shell to finished console
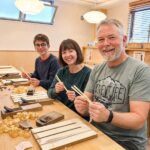
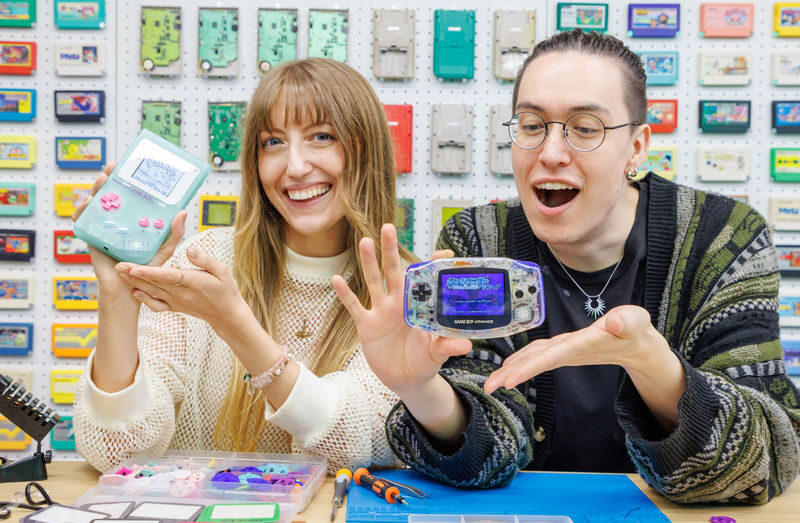
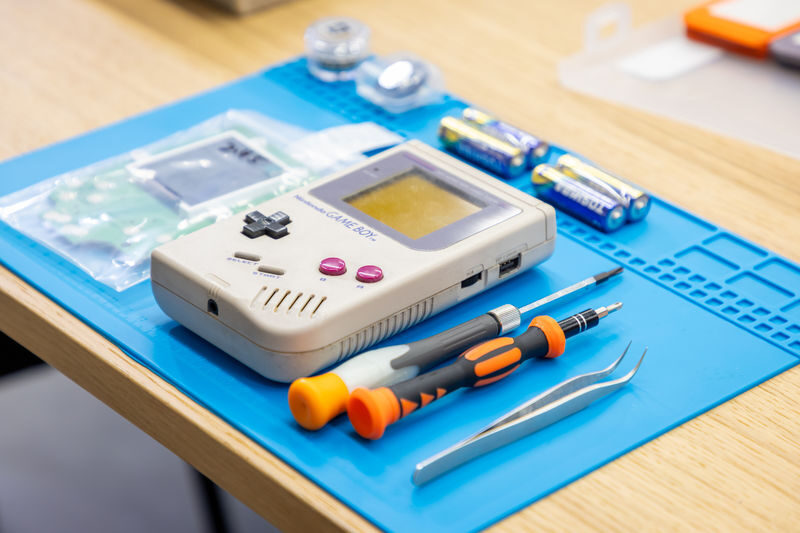
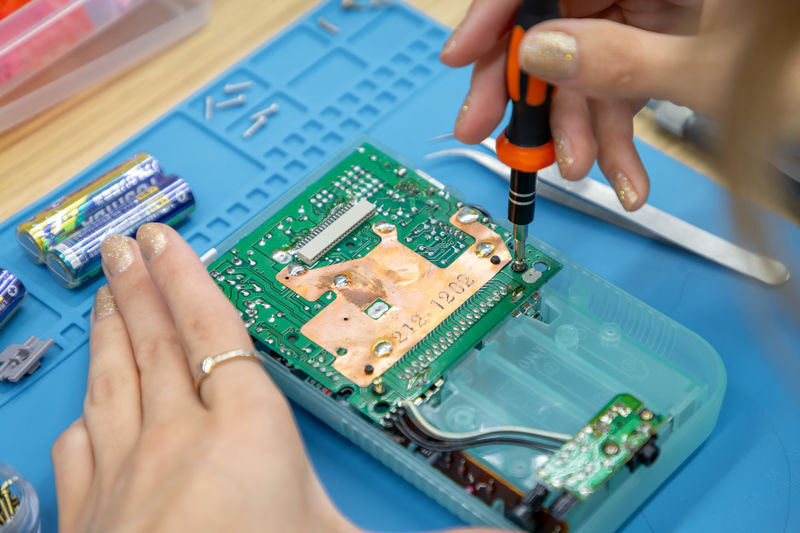
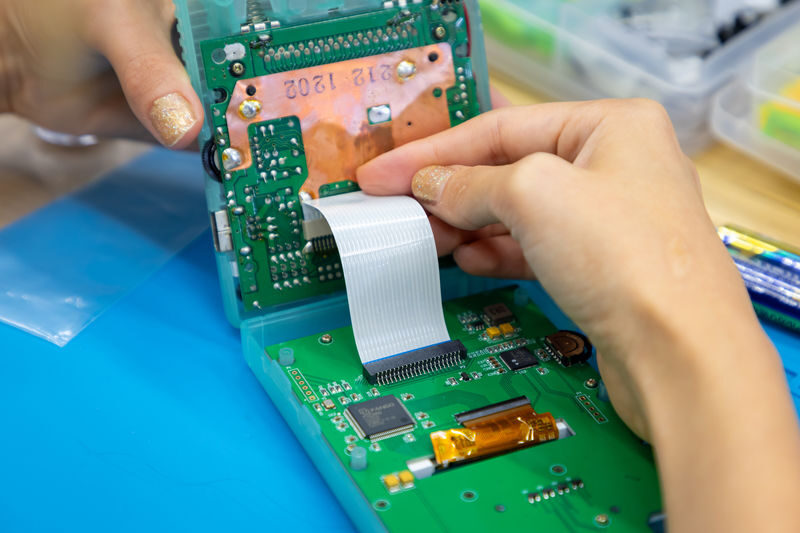
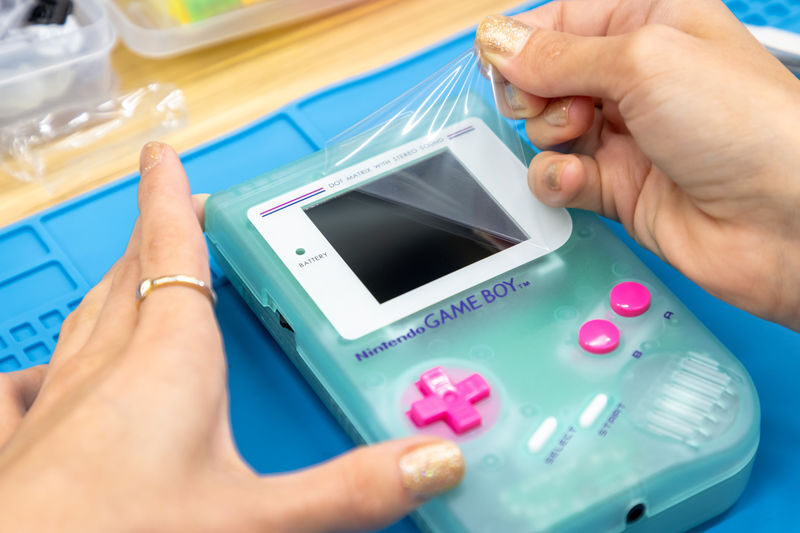
The core of the session is a guided disassembly and rebuild. You take apart the vintage Game Boy, then fit the new parts and reassemble it as your own custom console. English-speaking staff explain the process step by step and are there to help if you get stuck.
This is not a test of your technical ability. The workshop is designed for beginners, and nothing in the activity description suggests you need electronics experience. The hands-on work gives you a chance to see how the device is put together, while the guidance keeps the task manageable for different skill levels.
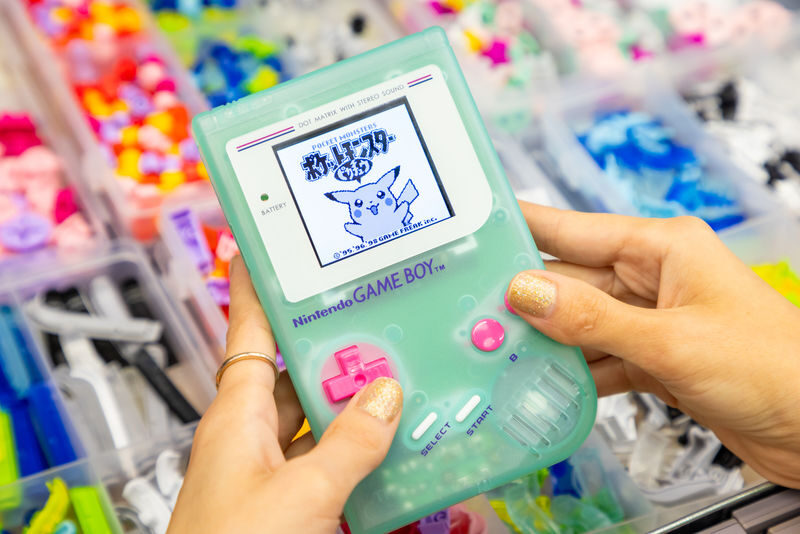
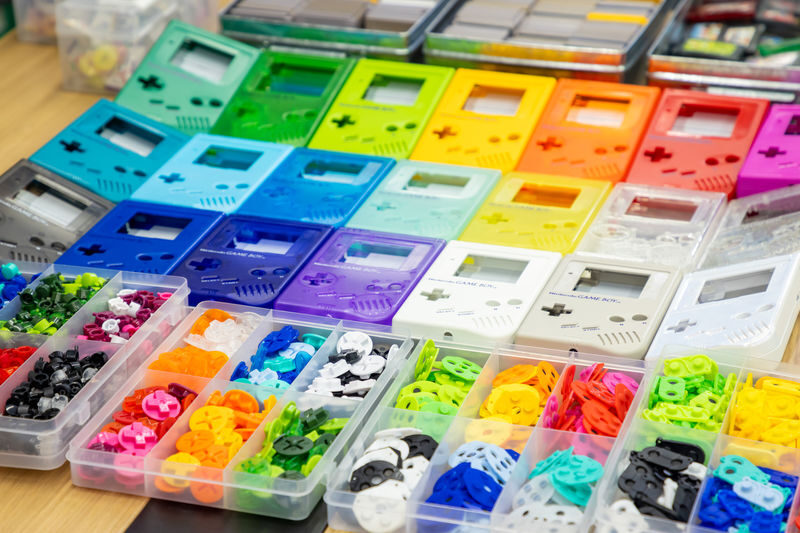
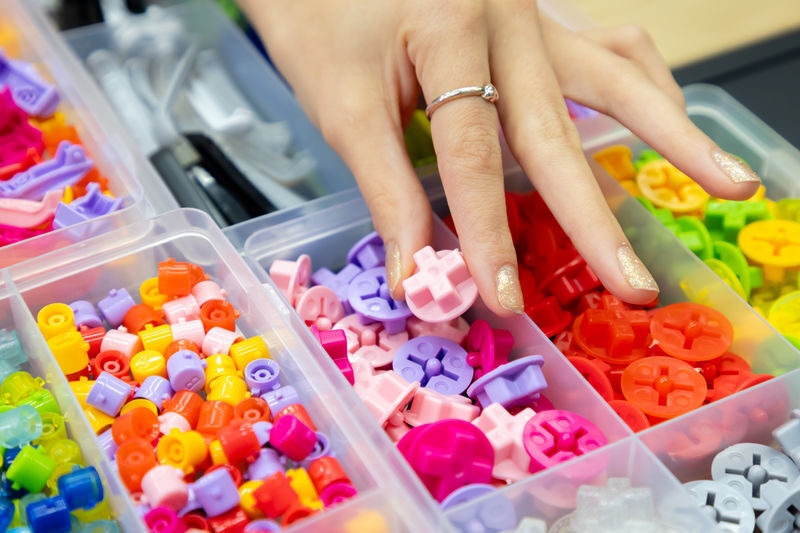
Color choice is part of the fun, and it can take longer than you expect. You can choose a shell color and buttons, so it is worth arriving with a rough idea of the look you want. If you have no plan, you might find inspiration in a favorite character or game. The range of choices is a practical plus, but it also means you should leave room for a little decision-making before the tools come out.
The screen upgrade is another meaningful part of the build. The backlit IPS display gives the console a modern feature while keeping its classic identity. You are not simply buying an old handheld in a new shell; you are assembling a customized version with a screen suited to play today.
A short history lesson, then time to play
The workshop includes an introduction to the history of the Game Boy and Nintendo handhelds. That context helps explain why the device became such a familiar part of gaming culture, and it gives the build more substance than a simple assembly task. The historical discussion is described as engaging, but this is still a compact workshop, not a long museum lecture.
Once the console is assembled, you can test it with classic cartridges on-site. There are multiple games and older Game Boy models available to try, giving you a chance to compare the systems and make sure your finished handheld works. That final play session is a nice bridge between the technical part and the nostalgia that may have drawn you in.
If you already own compatible cartridges, the activity details do not say that you need to bring them. Games are available to try at the workshop, so there is no need to arrive with your own collection. The important practical point is that the console is tested before the session and you can play before heading home.
What the two-hour schedule means
The full activity lasts two hours. It is a tidy fit between other Tokyo plans, though you should not treat it as a quick drop-in. You need to arrive at the venue, choose your components, follow the rebuild, and leave time to test the result.
Sessions are offered at 10:00, 14:00, and 18:00. The exact return time depends on the departure time and the selected package, with listed end times of 12:00, 16:00, or 20:00. A morning booking leaves the afternoon free, while the evening session can work well if you want a sit-down activity after exploring Akihabara.
The meeting point is Le Nid Kanda #701, 15 Kanda Kitanorimonocho, Chiyoda-ku, Tokyo 101-0036. Follow the address provided with your booking and arrive 10 minutes early. Transport is not included, so getting to the venue is your responsibility. Meals and drinks are also not part of the activity.



The price: a console plus a guided project
At a starting price of $329.35, this is not a low-cost souvenir purchase. You are paying for a two-hour guided activity as well as the customized, working console you take home. The value is strongest if you care about the process: choosing parts, learning how the handheld is assembled, and leaving with something you made.
If all you want is a Game Boy to play, compare this price with other ways of buying a console before you book. If you enjoy tinkering, retro games, or creative activities, the workshop offers more than a finished device. The build itself is part of what you are paying for, and the English-language guidance makes it accessible without prior modding skills.
The activity is not affiliated with Nintendo. That does not change the hands-on nature of the session, but it is useful to know if you are looking for an official Nintendo workshop or branded event.
A good fit for families, couples, and solo gamers
The minimum age is 6. Children aged 6 to 17 must attend with a paying adult, and children aged 6 or older pay the same rate as adults. The step-by-step format and staff support make the workshop a possible family activity, especially if the child is excited about games and enjoys making things.
Non-participating companions may watch at no extra charge. Space is limited, so tell the operator in advance if three or more companions plan to come. That makes this a flexible option if one person wants to build while another takes photos, but it is not a plan for bringing a large group of spectators.
Couples can build side by side, while solo participants can focus on their own project. The workshop is also a strong choice for retro gaming fans who want a souvenir with more meaning than a box bought from a shop. Some team members named in connection with the sessions include Ben, Ariana, Daniel, and Gan, though staffing may vary on the day.
Small practical details before you book
Book the correct model and session time, then use the address supplied for the venue. Arrive 10 minutes early. Late arrivals of 15 minutes or more are not eligible for a refund, and latecomers or no-shows cannot be refunded, so give yourself enough time to find the building.
Free cancellation is available if you cancel at least 48 hours before the activity date, using destination local time. Changes are allowed until one day before the activity starts, subject to the booking conditions. The voucher is valid only for the date and time selected.
The operator may cancel due to unforeseen events or extreme weather. If that happens, you can request a refund or reschedule, subject to availability. Participants who appear intoxicated may be refused service without a refund.
Should you book the Game Boy workshop?
Book it if you want an activity that combines retro gaming, a little practical work, and a one-of-a-kind Tokyo souvenir. The best reasons are the clear English-language guidance, the choice of model and colors, and the chance to test your rebuilt console before leaving. You do not need modding experience, which makes the activity easier to recommend to curious beginners than a technical repair class.
Think twice if the price feels high for a two-hour activity or if you mainly want to browse Akihabara shops. The workshop is most worthwhile when you enjoy the making as much as the finished handheld. For a gamer, a family with an enthusiastic child, or a couple looking for a shared project, it can turn a familiar device into a memorable part of a Tokyo visit.
Tokyo: Game Boy Mod Workshop in Akihabara (Original/Advance)
“My husband had such a blast! He got to choose his own colors for the game boy and it turned out great! The staff was really informative and we're s…”
FAQ
How long is the Game Boy mod workshop?
The workshop lasts two hours, including the guided build and time to test the finished console.
Which Game Boy models can I choose?
You can book either the original Game Boy, the DMG-01, or the Game Boy Advance. The Advance has a wider screen.
What do I build during the workshop?
You disassemble and rebuild a vintage Game Boy, add a backlit IPS screen, and choose a shell color and buttons.
Do I need to bring a console, tools, or parts?
No. The console, parts, and tools are provided. The activity also says no technical experience is needed.
Is the workshop suitable for children?
Participants must be at least 6 years old. Children aged 6 to 17 must be accompanied by a paying adult, and children aged 6 or older are charged the same rate as adults.
Can someone come along without joining the workshop?
Yes. Non-participating companions may watch at no extra charge. If three or more companions will attend, notify the operator in advance because space is limited.
Where is the meeting point?
The workshop is at Le Nid Kanda #701, 15 Kanda Kitanorimonocho, Chiyoda-ku, Tokyo 101-0036. Arrive 10 minutes before your selected start time.
What times are available?
The listed start times are 10:00, 14:00, and 18:00. Available return times vary with the departure time and package.
Can I cancel or change my booking?
You can cancel for a full refund at least 48 hours before the activity date, based on destination local time. Changes are allowed until one day before the activity, subject to the booking conditions.